
I used the Eylure Dylash 45 day Mascara in Dark Brown. I did a lot of research beforehand (both reviews and tutorials for application tips) and I was a little concerned that it would make my eyebrows quite red toned which is something I try to avoid with eyebrow powders and pencils. Thankfully it just darkens the colour and the red tones are minimal. However, if this is something you're worried about or your eyebrows are naturally darker than mine, it is possible to mix the dye from the black and dark brown kits to achieve a more ashy brown. Obviously this does make it more expensive initially as you have to buy two complete kits.
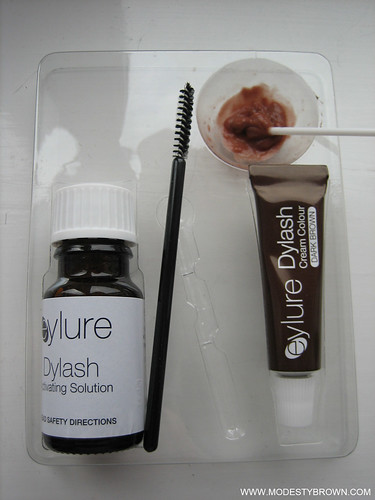
The Dylash kit includes a tube of dye, developer, a small mixing spatula and an indent in the packaging to mix the dye. There's also a mascara wand and some eye shields for use with eyelash application. I will mention that it is hard work mixing the dye into the developer as the cream and solution really don't seem to want to mix, but it is advisable to keep going until you make something that resembles a paste. You want the consistency to be relatively smooth otherwise you're likely to get an uneven colour.
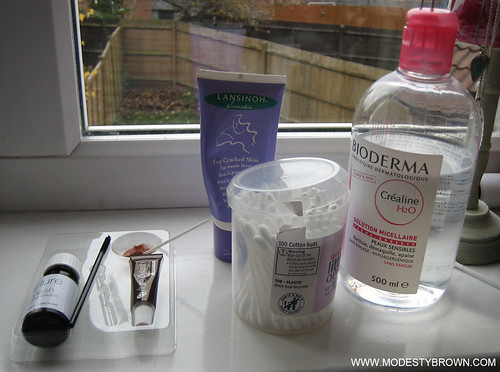
Before applying to my brows, I clean the area by wiping over with micellar water, allow to dry and then apply Lansinoh using a cotton bud to the skin all around my brows to prevent accidentally staining my skin. You could use Vaseline instead, I just use the Lansinoh as it is to hand. I use the mascara wand that comes in the set to apply the dye and I tend to apply quite liberally, especially to the tail end of my brows which are most in need of colour. There is a timing recommendation of 1-2 minutes for brows but I tend to just judge it by eye. My reasoning is that I can always put more on if required and I'm only looking for definition rather than very dark brows. To remove the dye, I just wipe over with micellar water on a cotton pad.
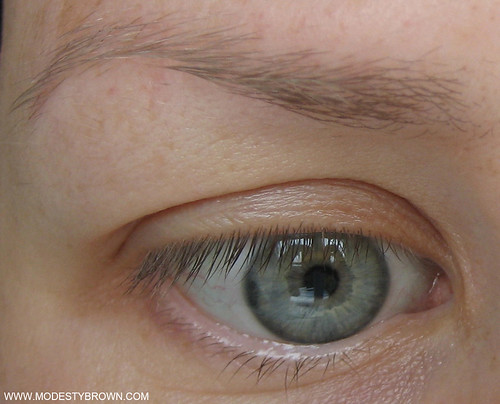
BEFORE
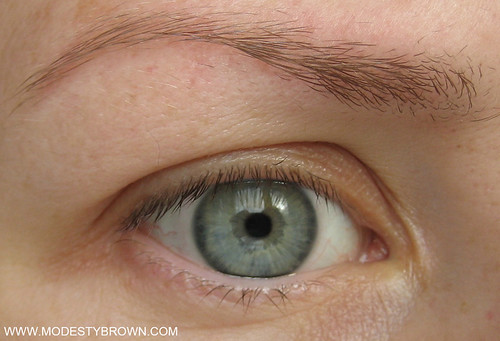
AFTER
Please excuse the fact that my eyebrows need plucking in the pictures above, I do this after I've tinted my brows as it enables me see too exactly which hairs need to go!
The first time I tinted my brows, I had a little go at applying the dye to my lashes too. In fact I think this is just about visible in the 'After' picture above. I found it almost impossible to load the colour on to my lashes evenly as I removed as much as I applied with the wand and it resulted in very patchy tinting. I think part of the problem is that my lashes are very short and working on such a small area is very tricky, especially if you're trying to avoid getting dye too close the eye. I'm happy doing my brows at home with this kit but for me this is a no for my lashes.
The Eylure Dylash 45 day mascara cost £7.49 and I bought mine from Superdrug. As I only use a tiny amount of the product each time, I think this set is likely to last at least 6 months, if not more.
Interesting, never thought of tinting my brows. I usually bleach them to pure blond.
ReplyDeleteThe change on you looks great and natural but slightly tweaked for that noticeable brow color.
Again, interesting!
Thanks Olivia. I suspect it might have been more useful to take a full face picture for both the before and after to show the difference it makes. The tail end of my brows are peppered with fair hairs which often look invisible at a distance. I really like how the tinting sorts them out.
DeleteI have considered bleaching my brows in the past. I guess it's much easier to mess about with the shape with a pencil that way?
That looks really natural on you, I have to say you are tempting me though I wonder if its harder to get a good colour match with blonde hair as they can often lean warm. Thanks for sharing this xx
ReplyDeleteThank you. I have to confess, I'm not sure if there are any shades specifically for blondes or redheads. It would be interesting to have a look. I suspect the dark brown could be too warm. I'm very pleased I gave it a try as it's definitely a time saver not having to fill my brows in every day! xx
DeleteI've been doing this for a while since I have super blonde eyebrows and get really tired of filling them in every day. I use "Just for Men" beard and mustache dye kit in light-medium brown and apply with a Q-tip. I find 3 minutes is about right to get the color I want.
ReplyDeleteI tint my brows at home too! I go for dark brown color and it turns very dark on me, but in the end I love the results, because I have very sparse brows and this way they look fuller. My kit's instruction says to leave it on for 7-10 minutes, that's what I do, lol.
ReplyDelete